Mounting Miles
Complete Inspection - Inspected Tires - Mounting Information [FRT409]
Before proceeding, make sure that the Fleet/Branch you want to insert information into is selected in the Main Window of the system.
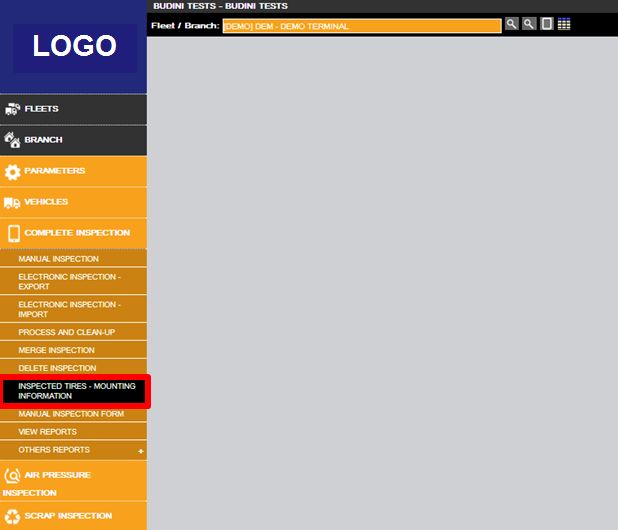
To access this function: Complete inspection menu > Inspected Tires - Mounting Information option
Use this option to insert information regarding the application of the tire on a vehicle on the system.
About this function
Entering mount miles enables the program to calculate the performance of the tires from the mounting point to the inspection that was linked with the mounting information.
Only enter information you know to be accurate. If any part of the information you need is missing or possibly innacurate, such as the date, odometer or tread depth do not enter any data;
To enter on information:
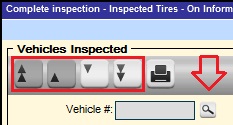
1. Select the Vehicle you want to insert On information clicking at the navigation button or at the Find button (magnifier glass) at the Vehicle # field .
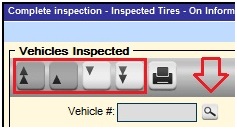
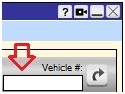
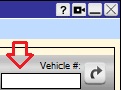
2. If you know the code of a specific Vehicle that you want to update, you can type its code at the Vehicle # field at the upper right. side of the screen and hit Enter.
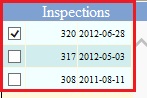
3. Select the inspection in which you want to update the On information in the left side of the screen.
4. Select each position you want to update by checking the boxes next to them.
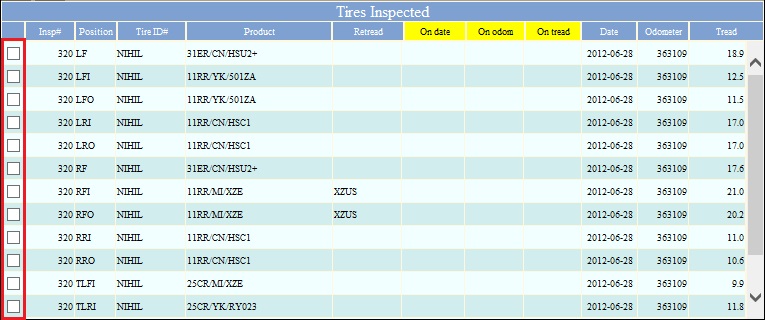
5. Enter the On date, On odometer and On tread for the selected positions at the bottom of the screen and hit the Save button

6. Remember, the On odometer must not be higher than what is on the Odometer field. If by any reason, the Odometer field have a 0 (zero) reading, you will not be able to insert the Onodometer. First you will need to change the odometer in the inspection where the vehicle was inspected or inspect the vehicle again making sure you have the actual odometer reading.
To remove on information:
1. Select the Vehicle you want to remove On information clicking at the navigation button or at the Find button (magnifier glass) at the Vehicle # field.
2. If you know the code of a specific Vehicle that you want to update, you can type its code at the Vehicle # field at the upper right side of the screen and hit Enter.
1. Select the inspection in which you want to delete the On information in the left side of the screen.
3. Select each position you want to delete by checking the boxes next to them.
4. Click on the Delete button.

[END] Lat Updated 07/02/2014